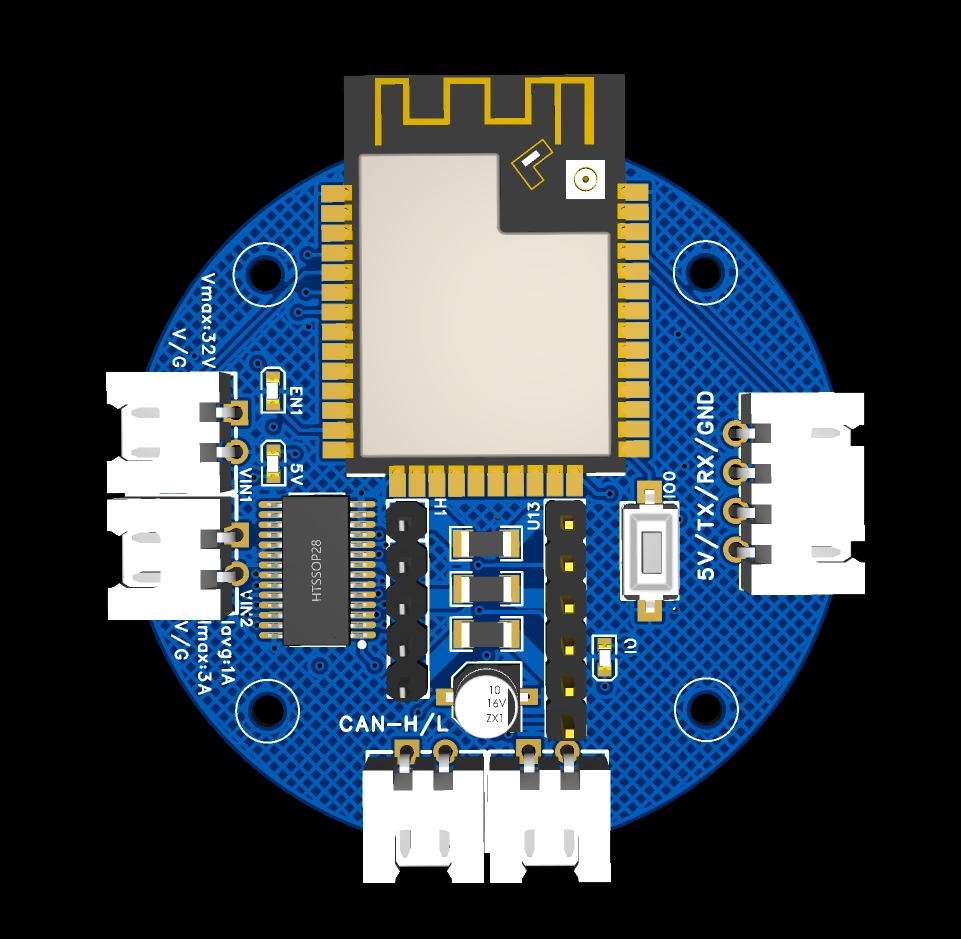
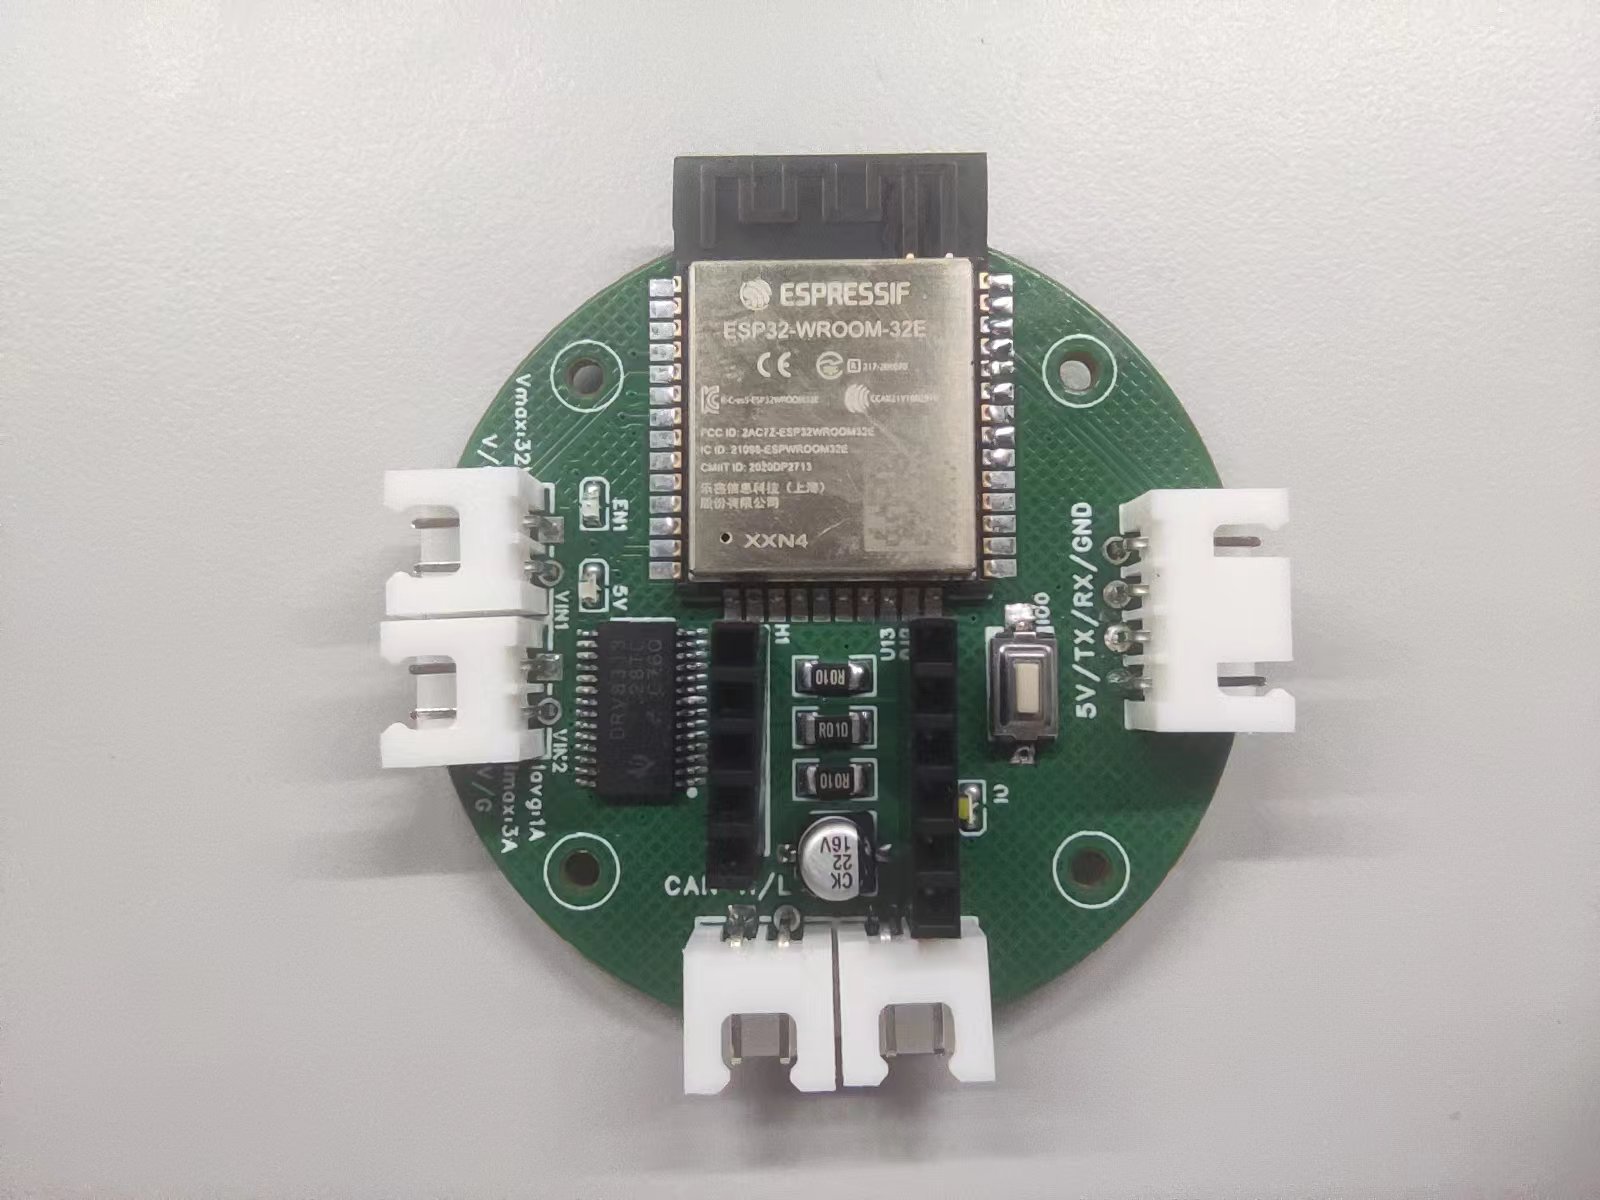
// BLDC motor & driver instance BLDCMotor motor = BLDCMotor(11); BLDCDriver3PWM driver = BLDCDriver3PWM(25, 26, 27, 14);
// angle set point variable float target_angle = 0; // instantiate the commander Commander command = Commander(Serial); voiddoTarget(char* cmd) { command.scalar(&target_angle, cmd); }
voidsetup() {
// initialise magnetic sensor hardware sensor.init(); // link the motor to the sensor motor.linkSensor(&sensor);
// driver config // power supply voltage [V] driver.voltage_power_supply = 12; driver.init(); // link the motor and the driver motor.linkDriver(&driver);
// set motion control loop to be used motor.controller = MotionControlType::angle;
// contoller configuration // default parameters in defaults.h
// velocity PI controller parameters motor.PID_velocity.P = 0.2f; motor.PID_velocity.I = 20; motor.PID_velocity.D = 0; // maximal voltage to be set to the motor motor.voltage_limit = 6;
// velocity low pass filtering time constant // the lower the less filtered motor.LPF_velocity.Tf = 0.01f;
// angle P controller motor.P_angle.P = 20; // maximal velocity of the position control motor.velocity_limit = 20;
// use monitoring with serial Serial.begin(115200); // comment out if not needed motor.useMonitoring(Serial);
// initialize motor motor.init(); // align sensor and start FOC motor.initFOC();
// add target command T command.add('T', doTarget, "target angle");
Serial.println(F("Motor ready.")); Serial.println(F("Set the target angle using serial terminal:")); _delay(1000); }
voidloop() {
// main FOC algorithm function // the faster you run this function the better // Arduino UNO loop ~1kHz // Bluepill loop ~10kHz motor.loopFOC();
// Motion control function // velocity, position or voltage (defined in motor.controller) // this function can be run at much lower frequency than loopFOC() function // You can also use motor.move() and set the motor.target in the code motor.move(target_angle);
// function intended to be used with serial plotter to monitor motor variables // significantly slowing the execution down!!!! // motor.monitor();
// BLDC motor & driver instance BLDCMotor motor = BLDCMotor(11); BLDCDriver3PWM driver = BLDCDriver3PWM(25, 26, 27, 14);
// velocity set point variable float target_velocity = 0; // instantiate the commander Commander command = Commander(Serial); voiddoTarget(char* cmd) { command.scalar(&target_velocity, cmd); }
voidsetup() {
// initialise magnetic sensor hardware sensor.init(); // link the motor to the sensor motor.linkSensor(&sensor);
// driver config // power supply voltage [V] driver.voltage_power_supply = 12; driver.init(); // link the motor and the driver motor.linkDriver(&driver);
// set motion control loop to be used motor.controller = MotionControlType::velocity;
// contoller configuration // default parameters in defaults.h
// velocity PI controller parameters motor.PID_velocity.P = 0.2f; motor.PID_velocity.I = 20; motor.PID_velocity.D = 0; // default voltage_power_supply motor.voltage_limit = 6; // jerk control using voltage voltage ramp // default value is 300 volts per sec ~ 0.3V per millisecond motor.PID_velocity.output_ramp = 1000;
// velocity low pass filtering // default 5ms - try different values to see what is the best. // the lower the less filtered motor.LPF_velocity.Tf = 0.01f;
// use monitoring with serial Serial.begin(115200); // comment out if not needed motor.useMonitoring(Serial);
// initialize motor motor.init(); // align sensor and start FOC motor.initFOC();
// add target command T command.add('T', doTarget, "target velocity");
Serial.println(F("Motor ready.")); Serial.println(F("Set the target velocity using serial terminal:")); _delay(1000); }
voidloop() { // main FOC algorithm function // the faster you run this function the better // Arduino UNO loop ~1kHz // Bluepill loop ~10kHz motor.loopFOC();
// Motion control function // velocity, position or voltage (defined in motor.controller) // this function can be run at much lower frequency than loopFOC() function // You can also use motor.move() and set the motor.target in the code motor.move(target_velocity);
// function intended to be used with serial plotter to monitor motor variables // significantly slowing the execution down!!!! // motor.monitor();
voidsetup() { // initialise magnetic sensor hardware sensor.init(); // link the motor to the sensora motor.linkSensor(&sensor);
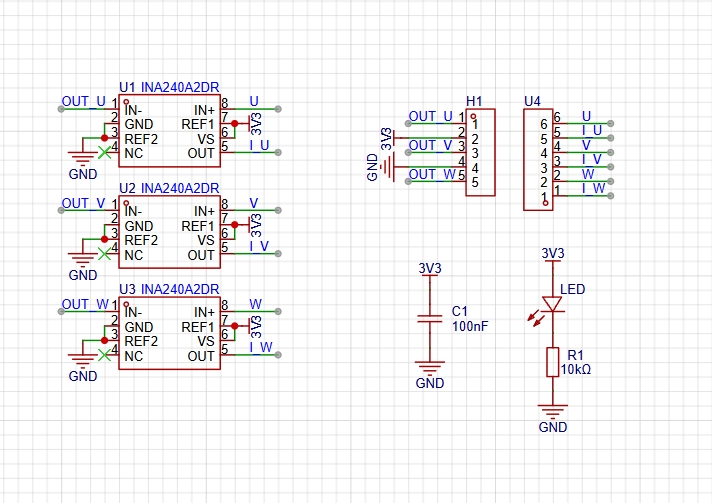
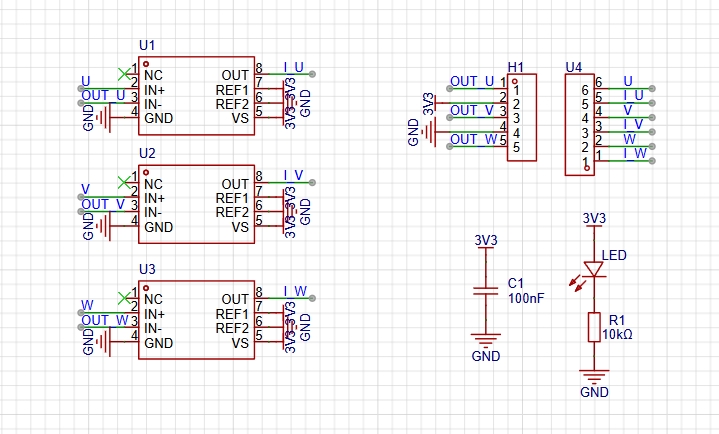
// driver config // power supply voltage [V] driver.voltage_power_supply = 18; driver.init(); // link driver motor.linkDriver(&driver); // link the driver to the current sense current_sense.linkDriver(&driver);
// current sense init hardware current_sense.init(); // link the current sense to the motor motor.linkCurrentSense(¤t_sense);
// set torque mode: motor.torque_controller = TorqueControlType::foc_current; // set motion control loop to be used motor.controller = MotionControlType::torque;
The domain name of this website has been changed to triority.cc(Using CDN via cloudflare, recommended) / www.triority.cc(Connecting directly, works better in Chinese mainland). Please contact me if you have any questions.